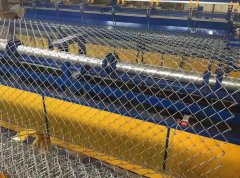
Installing a chicken wire mesh fence is a practical and effective solution for a variety of purposes, from keeping chickens safe to protecting gardens and defining boundaries. This comprehensive guide provides step-by-step instructions for installing a chicken wire mesh fence, ensuring that your installation is successful and your objectives are met.
Gather Materials and Tools:
Before you begin, gather all the necessary materials and tools, including chicken wire mesh, fence posts, post hole digger, concrete mix, hammer, nails, wire cutters, pliers, and a level. Ensure that you have measured the area accurately and acquired the appropriate amount of materials.
Plan and Mark the Layout:
Use stakes and string to outline the fence's perimeter. This initial layout will guide your installation process. Make sure the corners are square by using the 3-4-5 triangle method (measuring 3 feet on one side, 4 feet on the other, and ensuring the diagonal is 5 feet).
Installing a chicken wire mesh fence involves careful planning, accurate measurements, and attention to detail. By following this step-by-step guide, you can ensure that your fence installation is successful and meets your intended goals. A properly installed chicken wire mesh fence not only serves its purpose effectively but also adds a practical and functional element to your property.
prev:Anti-rust Treatment: Extend the Life of Galvanized Wire Mesh Fence
next:Safe and Secure: How to Properly Bury Chicken Wire Mesh Fence Posts